


How Camera Night Vision Works After Dark
17th Nov 2026
A camera can look like an ordinary clock, charger, smoke detector, or office accessory and still capture useful video after the lights go out. Understanding how camera night vision works helps you choose the right device, place it correctly, and avoid the grainy, washed-out footage that often shows up when a camera is expected to see more than its setup allows.
For discreet home, caregiver, office, and property monitoring, night performance is not one feature. It is a combination of the image sensor, lens, infrared illumination, room layout, power source, and camera settings. A strong camera can record a dark hallway clearly, but it may struggle when pointed through a window or placed behind reflective glass.
How Camera Night Vision Works
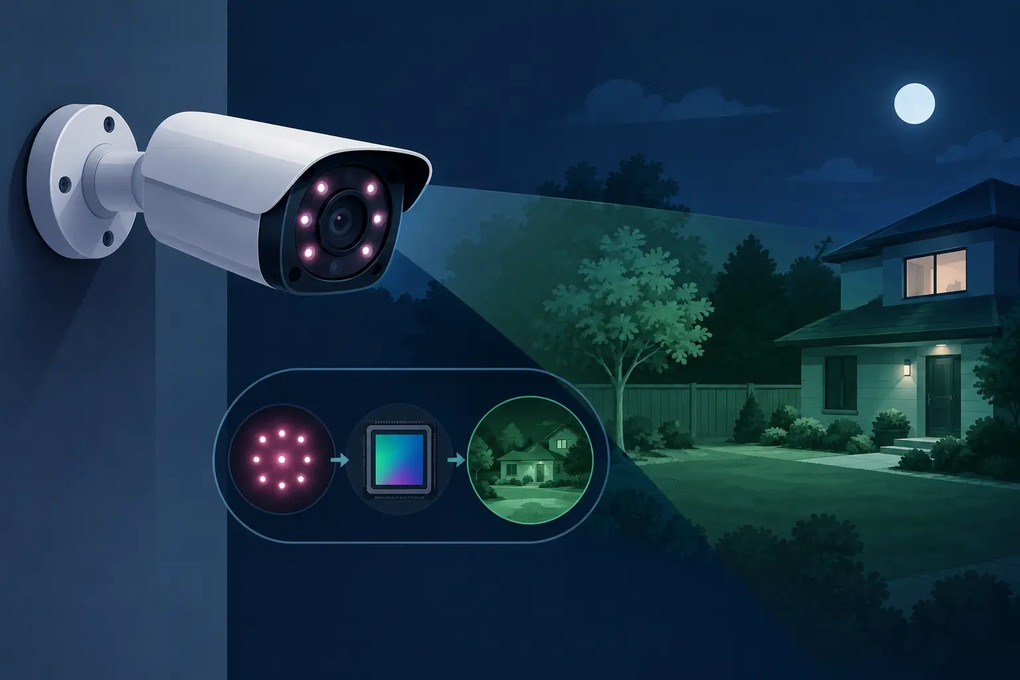
Most security cameras use one of two methods to see in low light: they either gather the small amount of available light more efficiently, or they create invisible illumination using infrared light. Many WiFi security cameras use both, switching automatically as the room gets darker.
During daytime or in a well-lit room, the camera records visible light in color. As light levels fall, the camera’s sensor increases its sensitivity. This can preserve some color in a dim room, especially near a lamp, porch light, television, or streetlight. The trade-off is that the camera may use a slower shutter speed or higher electronic gain, which can introduce motion blur or digital noise.
When the room becomes very dark, infrared night vision usually takes over. Small infrared LEDs around the lens emit light beyond the range of normal human vision. The camera sensor can detect that reflected infrared light, allowing it to form an image even when the room appears completely black to the eye.
Because infrared does not contain the same color information as daylight, infrared video is typically black and white. That is normal. A clean monochrome image with identifiable faces, movement, and objects is often more useful for security than a dark color image full of blur.
The role of the IR-cut filter
Many cameras use an IR-cut filter, a small filter that blocks infrared light during the day. Without it, daylight footage can have inaccurate colors. When night mode activates, the filter moves away so the sensor can receive infrared light.
On some cameras, this switch makes a faint click. It is a normal part of changing from color recording to infrared night vision. The camera may switch back and forth around dawn, dusk, or when a nearby lamp turns on and off.
Infrared range is not the same as usable detail
A camera may advertise a 20-foot, 30-foot, or longer night-vision range. That number usually refers to how far the infrared light can reach under favorable conditions. It does not guarantee that every face or small object will be sharp at that distance.
Useful recognition range depends on resolution, lens angle, mounting height, subject movement, and the amount of infrared light reaching the target. A wide-angle camera covers more of a room, but people farther from the lens appear smaller. For a doorway, crib area, register, or office entry, positioning the camera closer to the key activity zone usually produces better evidence than relying on maximum range claims.
Why Some Night Footage Looks Better Than Others
Two cameras can both have HD or 4K recording and produce very different night video. Resolution matters, but it cannot repair a scene that is poorly illuminated or a lens that is aimed through the wrong material.
The sensor is one of the biggest factors. Larger, more sensitive sensors can gather more light and often create cleaner low-light video. The lens also matters. A lens with a wider aperture can pass more light to the sensor, improving the camera’s ability to work before infrared mode becomes necessary.
Processing affects the final result as well. Cameras reduce noise, adjust exposure, and increase contrast to make dark scenes easier to view. Aggressive processing can make a scene appear brighter, but it can also smooth over fine details such as text, facial features, or clothing patterns. Better night footage is not always the brightest footage. It is footage that keeps the details you need.
Motion is another limitation. A person sitting at a desk can look crisp in low light. A person walking quickly across a dark room may blur if the camera needs a longer exposure. If identifying movement is the priority, add a small amount of ordinary ambient light where appropriate rather than expecting any camera to freeze fast action in total darkness.
850nm vs. 940nm Infrared LEDs
Infrared LEDs are commonly available in two wavelengths: 850nm and 940nm. The difference matters for discreet monitoring.
850nm infrared typically provides stronger illumination and longer effective range. However, the LEDs may show a faint red glow in a dark room when viewed directly. In many home and business settings, that glow is minor and does not affect placement.
940nm infrared is often called no-glow infrared. It is harder to detect with the human eye, making it useful when a camera needs to remain less noticeable. The trade-off is reduced illumination range compared with 850nm LEDs. For close indoor coverage, such as a nursery, home office, entryway, or small room, no-glow infrared can be a practical choice. For a larger dark area, stronger 850nm illumination may produce a clearer image.
A concealed camera’s housing also affects performance. A camera hidden inside a functional object needs a clear path through its lens opening. Do not cover the opening with tape, fabric, paper, or decorative material. Even a thin obstruction can scatter infrared light and create haze at night.
Placement Problems That Can Ruin Night Vision
The most common night-vision mistake is placing a camera behind a window. Infrared LEDs reflect off glass, sending light back into the lens. The result is often a bright white glare with little detail outside. If you need to monitor an exterior area at night, place a weather-rated camera outside or use a setup with infrared illumination positioned away from the window.
Reflective surfaces can cause similar problems indoors. Mirrors, glossy picture frames, white walls at close range, stainless steel appliances, and polished furniture can bounce infrared light back toward the camera. Move the camera slightly, change the angle, or increase the distance between the lens and the reflective surface.
Avoid placing a camera low behind large objects or directly facing bright light sources. A lamp, television, illuminated sign, or vehicle headlights can cause exposure shifts that leave the rest of the scene too dark. Aim the camera toward the activity area rather than toward the brightest object in the room.
For discreet devices, choose a placement that looks natural but still gives the lens a direct view. A charger camera may work well on a countertop facing an entry area. A clock-style camera can cover a living room or office from a shelf. A smoke-detector-style camera may offer a higher room view, although the angle may be too wide for close facial detail. Test the live view after dark before relying on any location.
Night Vision, WiFi, and Battery Life
WiFi does not make night vision stronger. It affects how the camera sends live video, alerts, and recordings to your phone. A dual-band WiFi camera may offer more connection options, but the sensor and infrared LEDs determine what the camera can see in the dark.
Night recording can use more battery power than daytime recording. Infrared LEDs, motion detection, WiFi streaming, and continuous recording all draw energy. A battery-powered hidden camera may deliver different runtime depending on how often it activates at night and whether you watch live video frequently.
For long-term monitoring, match the power plan to the use case. USB-powered cameras are often better for continuous indoor coverage. Battery-powered models can be useful where outlets are limited or where a temporary, flexible placement is needed. Motion-activated recording helps conserve storage and battery, but adjust sensitivity carefully so pets, curtains, or passing headlights do not trigger constant clips.
A Practical Night Test Before You Rely on the Camera
Set up the camera in its intended location during the day, then test it after dark. Walk through the coverage area at normal speed. Sit where a caregiver, employee, visitor, or family member would likely be. Check whether faces are visible at the distances that matter, whether the camera switches to infrared mode, and whether nearby surfaces create glare.
Review recorded clips instead of judging only by a live preview. Compression, WiFi signal strength, and recording settings can affect the saved footage. Confirm that the date and time are correct, motion alerts arrive when expected, and the camera captures the doorway, hallway, room, or property area you actually need to document.
Use concealed monitoring responsibly. Recording laws vary by state, especially for audio, and cameras should never be used in bathrooms, changing areas, or any place where people reasonably expect privacy. Clear, lawful placement protects the people in the space and makes footage more useful if an incident occurs.
The best night-vision camera is not simply the one with the longest listed range. It is the one that fits naturally into the space, has enough light and power for the job, and records clear details where they matter most.